If your restaurant takes orders on a WooCommerce website and runs Clover at the counter, someone on your team is probably reading online orders off a screen and typing them into the till. It works — until a busy night, when a size gets missed, an order sits unseen, or “no onions” never makes it to the kitchen.
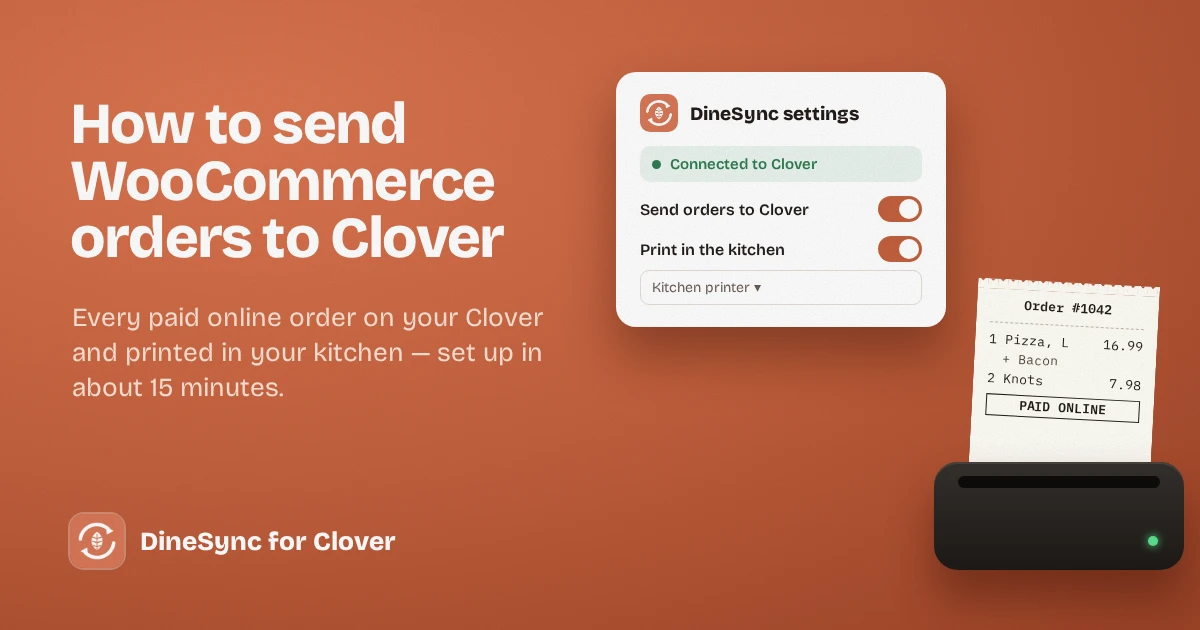
This guide shows you how to send WooCommerce orders to Clover automatically, so every paid online order lands on your Clover and prints in your kitchen by itself. Setup takes about fifteen minutes, and you don’t need a developer.
What you’ll need
- A WordPress website with WooCommerce installed and taking orders
- A Clover merchant account you can log into on the web
- HTTPS on your website — most hosts include this for free
- About fifteen minutes
Step 1: Install DineSync for Clover
In your WordPress admin, go to Plugins → Add New, search for DineSync for Clover, then click Install and Activate.
A new DineSync item appears in your admin menu. Until you connect, it shows a short getting-started checklist.
Step 2: Create an API token in Clover
DineSync connects using a token you create in your own Clover account. Nothing passes through a third-party server — your website talks directly to Clover.
Log into your Clover web dashboard, find the API Tokens page in your account settings, and create a new token. Give it access to inventory, orders, payments and printers. Keep this page open; you’ll paste the token in a moment.
Note your Merchant ID too. It’s shown in your Clover account details.
Step 3: Connect DineSync to Clover
In WordPress, go to DineSync → Settings and enter:
- your Merchant ID
- your API Token
- the environment — Production for your live Clover account
Click Save, then Test Connection. When it works, the dashboard shows your merchant name and a connected status.
Step 4: Bring your menu across
Your website and Clover need to agree on what’s on the menu, so that orders arrive with the right items.
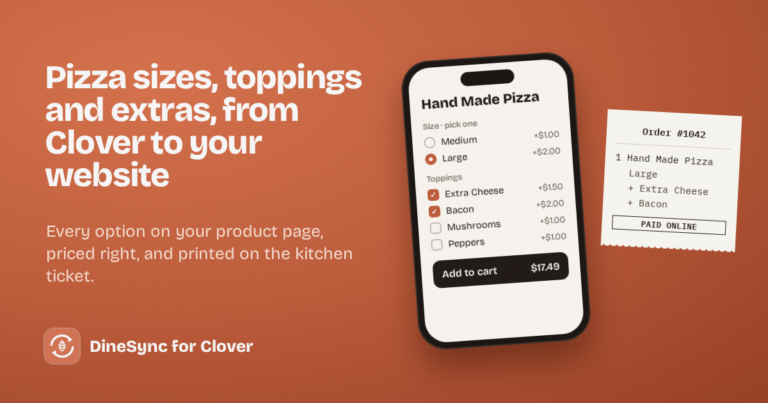
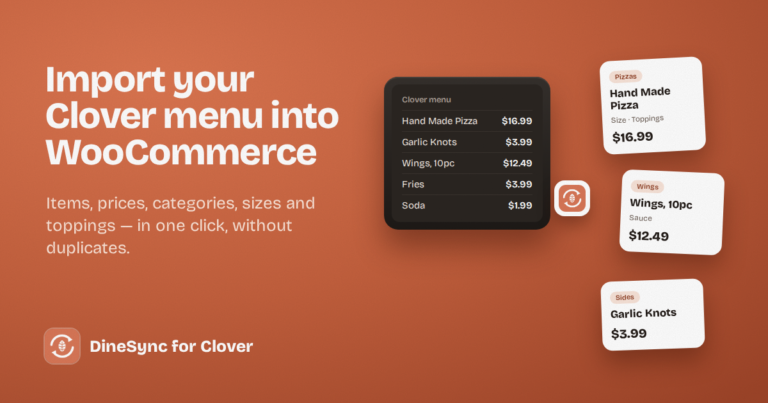
If you’re starting fresh, press Import from Clover. DineSync creates your products in WooCommerce with their prices, categories, and modifier groups — sizes, toppings and extras.
If your website already has products, press Map Clover Items first. It links your existing WooCommerce products to matching Clover items by SKU or name, so nothing gets duplicated. Then import to fill in anything missing.
Step 5: Turn on kitchen printing
Order sync is on by default. Kitchen printing is off until you choose a printer.
In Order Settings:
- Tick Print orders on Clover kitchen printer automatically.
- Click the refresh button next to the printer list to load your Clover printers, and choose one.
- Optionally, pick a default employee, so online orders show separately from counter orders in your Clover reports.
Save your settings.
Step 6: Place a test order
Order something small from your own website and pay for it.
Within a few seconds, the order should appear on your Clover with every item, size and topping, and print in your kitchen. Check that the ticket reads the way your cooks expect.
If it doesn’t arrive, open the order in WooCommerce. The DineSync panel shows whether it synced and, if not, the reason in plain words — along with a button to send it again.
How it works day to day
Once you send WooCommerce orders to Clover automatically, there’s nothing to do during service. A few things worth knowing:
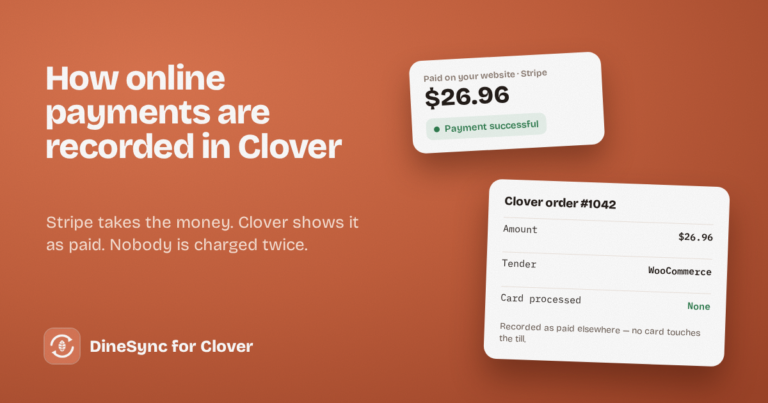
Orders are sent once they’re paid. A declined card never prints a ticket. An order that needs 3-D Secure arrives only after the customer confirms it.
Cash on delivery, bank transfer and cheque orders still reach the kitchen as soon as you accept them, because you need to cook them. But Clover isn’t told a payment arrived until it actually has.
Status follows through. Mark an order Completed in WooCommerce and it becomes Fulfilled in Clover; Cancelled and Refunded become Cancelled.
Both checkout styles work — WooCommerce’s classic checkout and the newer block checkout.
What if an order doesn’t make it?
It’s rare, but an order can occasionally fail to reach Clover — for example, if Clover has a brief problem at their end. When that happens, DineSync records it on the order with the reason, and you can resend it in one click.
The catch is that someone has to notice. On a busy night, nobody is opening orders to check.
DineSync Pro: someone watching for you
DineSync Pro adds the watching:
- Failed-order alerts — an email to you and whoever’s on shift, with a link straight to the order and one-click retry
- Automatic menu sync — price changes on Clover reach your website on their own, as often as every five minutes
- A preview before bulk changes — see exactly what will change before it touches your register
Pro costs $69.99 a month or $499.99 a year, with a 14-day free trial and no card needed.
Get started
Install DineSync for Clover free → https://wordpress.org/plugins/dinesync-for-clover/
Try DineSync Pro free → https://monirtechsolutions.com/plugins/dinesync-for-clover/get-pro/?utm_source=blog&utm_medium=article&utm_campaign=setup-guide